Three quick steps to do Asset Management with Collector and ArcGIS Online:
Step 1 (ArcMap) – Authoring your feature classes and tables:
What you need: ArcMap and an ArcGIS Online Organizational Account
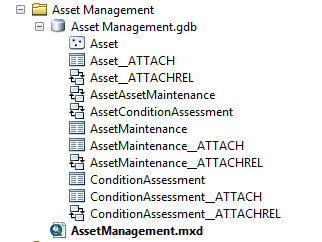
- Create a database in ArcMap
- Create a (point) Feature Class to store your Assets
- Create a Table to store your Assets’ Condition Assessments
- Create a Table to store Maintenance Tasks associated with your Assets
- Link them all together with Relationship Classes to create a 1:M link between Assets and Assessments and Assets and Maintenance Tasks
- Add the Asset Feature Class and the two related tables to a map document and publish it as a service to your ArcGIS Online account
Step 2 (ArcGIS Online) – Authoring your Web Map for use in Collector:
What you need: An ArcGIS Online Organizational Account
- Create a new Map in AGOL and add your newly created Asset Management service to it
- Add a basemap of your choice to your Map
- Save your Map
Step 3 (Collector) – Deploying your Asset Management application:
What you need: An iPhone or Android phone with the Collector for ArcGIS Application installed
- Start Collector and log in with your AGOL credentials
- Open the Map created in Step 2
- Start performing your Asset Management tasks!

For some additional images relating to this post – please see here: Asset Management Images
Homework for the avid reader:
- Add a Tracking Layer for Field Workers to the AGOL Web Map
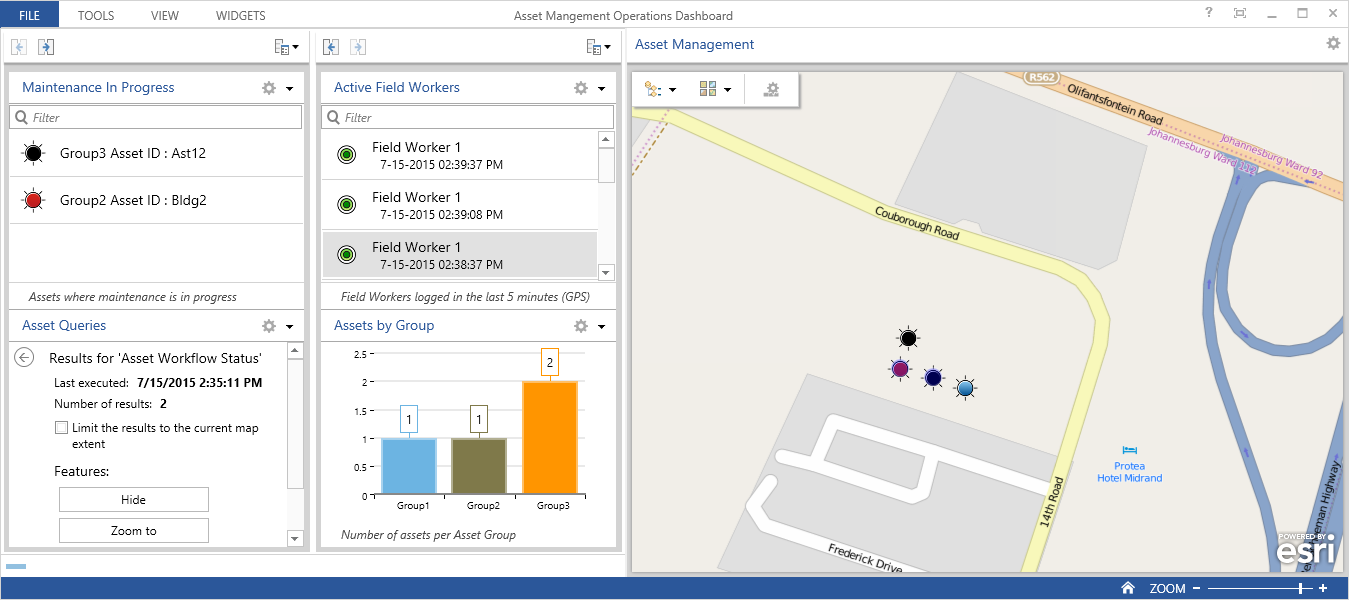
- Install ArcGIS Operations Dashboard
- Create a Dashboard that monitors real-time field activities such as Field Worker positions, Assets that require maintenance etc


